this week's
inspiration workshop is all about DIY. i made fall wreaths last week to give to my family and friends when i visited home and thought it would be the perfect time to share. i've read many great tutorials on wreaths and felt flowers so i'm not really doing anything new. just how i've done it myself (:
the craft stores were having really great sales last week as we rounded the corner to fall and, thanks to
heather's blog, i was also armed with coupons. [i love a good deal!] i bought several 12" grapevine wreaths to use with this project. i also bought felt in a mustard yellow color. i think it's very fall-ish and i liked the way it looked against the color of the wreaths.
the first step to making the felt flowers is to cut circles. i used a bowl and mug to trace circles...
after tracing, i cut. and i cut. then i cut some more.
as you can see i wasn't too worried about having perfect circles...
because after all the circles were cut out, i went back with my scissors and created a wavy type border around them.

from here i cut a spiral into the felt starting from an outer point. when i got to the inside i clipped an end to form a point.
i made five wreaths so after all the cutting was done, i was left with this:
i plugged in my hot glue gun, and started rolling the felt to create the flowers. unfortunately, my hands were full between the rolling and gluing and i did not get a picture of this step. but, i started rolling from the inside of the circle to the outside, but you can also start from the outside and roll in. when it was all wrapped up, i put a little line of glue on the end and pressed it into the side of the flower.
after they were all glued, i trimmed up the edges on some a bit. this was just my personal preference in the way they looked.
beautiful! for my own ocd and organized behavior, i laid out the flowers once they were all done. (: because i'd used a mug and a bowl to make my circles, i ended up with [
roughly] two different sized flowers.
from here i picked and chose the flowers to put on each wreath. i initially laid them out in a very evenly-spaced
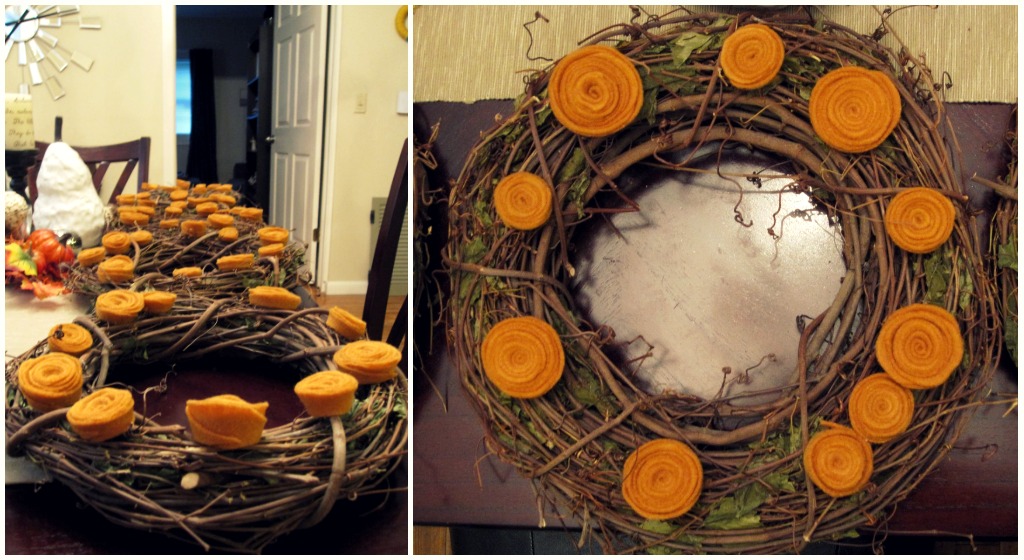
big one, little one, big one, etc. pattern, but john helped me move them around a bit to achieve a not so orderly and more organic look.
once they were all laid out, i put a circle of hot glue on the bottom of each flower and pressed it into the wreath for a few seconds. because the surface of the wreaths are so uneven, i wanted to make sure it had time to form a good hold to the flower. and voila! here are my wreaths!
i am so happy with the final product[s]! i love that john has an eye for these things and am so much happier with them being not quite so perfect and exact and being a little more unplanned and wild. (: i was so excited to have handmade gifts to give to my family and my friends, too. and they are such a pretty way to add some fall to your home!
what fun fall crafts are you making this year?